The garage is overflowing, the lawn is a graveyard of misplaced rakes, and your mental state is teetering on the edge. It’s time to reclaim your space and build the ultimate tool shed – imagine a place to put every tool, every machine, and be able to access it in an instant! Here are some tips to get you started in creating your dream tool shed:
Step 1: Assess Your Needs
Before jumping in, take a deep breath and assess your tool and equipment collection. Are you a weekend gardener with a few hand tools? Or a full-blown gearhead with a small engine addiction? Knowing what you need to store will guide the size and layout of your shed.
Step 2: Location, Location, Location
Think beyond just backyard placement. Consider sun exposure (harsh sun can damage tools), access to power outlets (for future workshops!), and proximity to your most frequent project zones. Remember to check local zoning regulations to ensure your shed meets size and setback requirements.
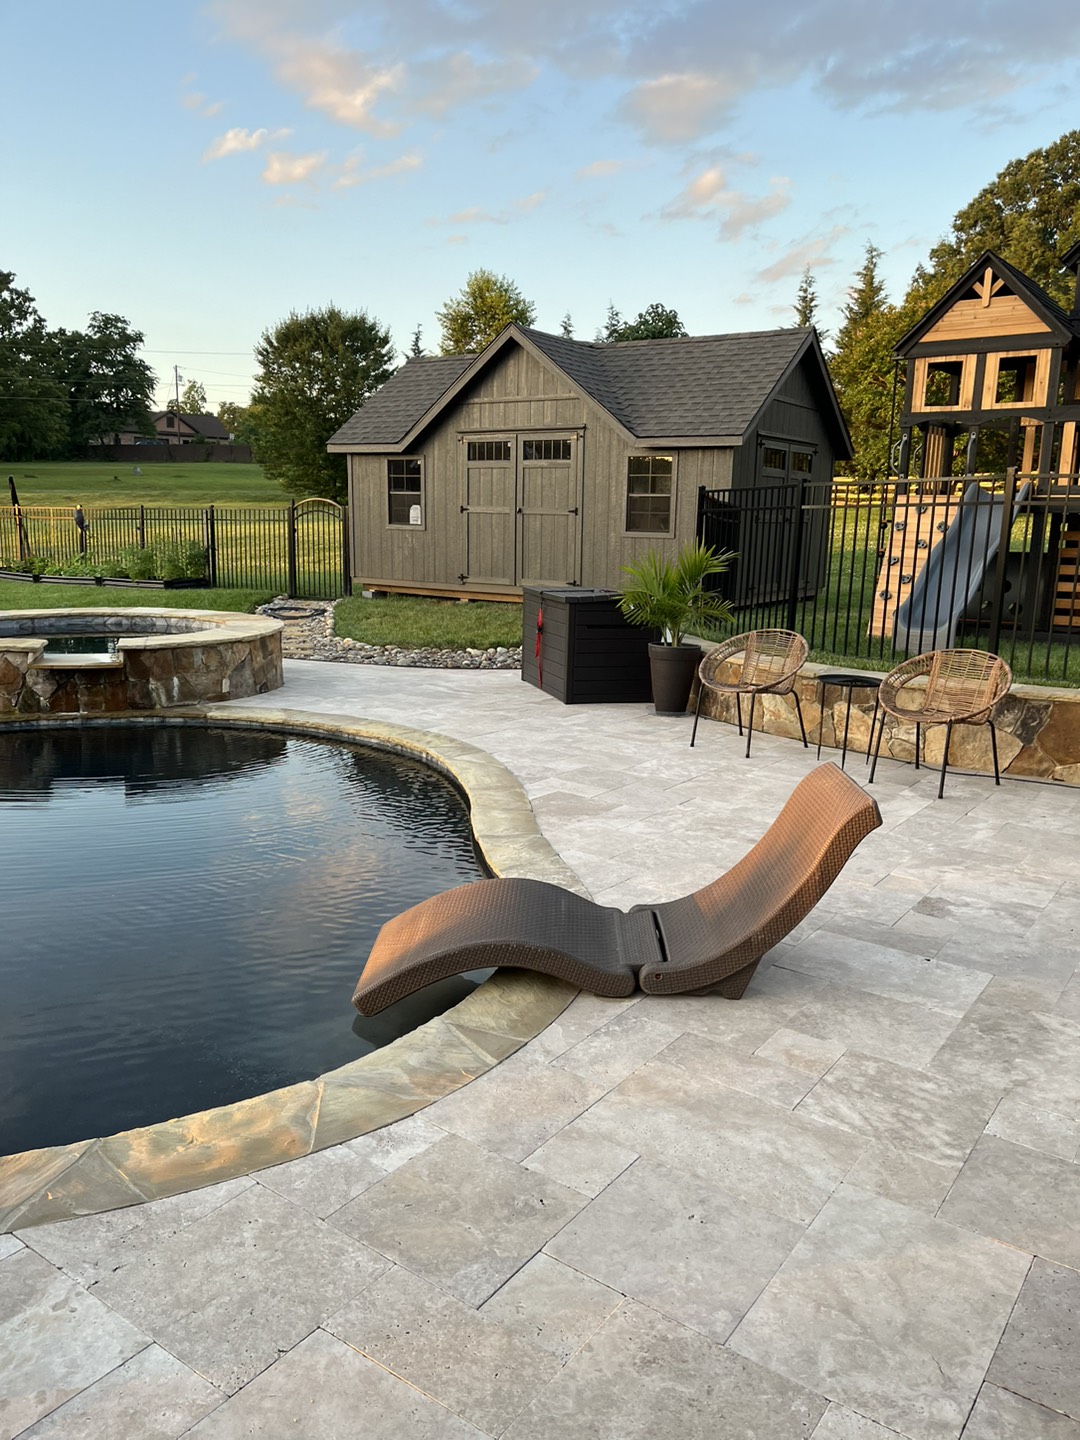
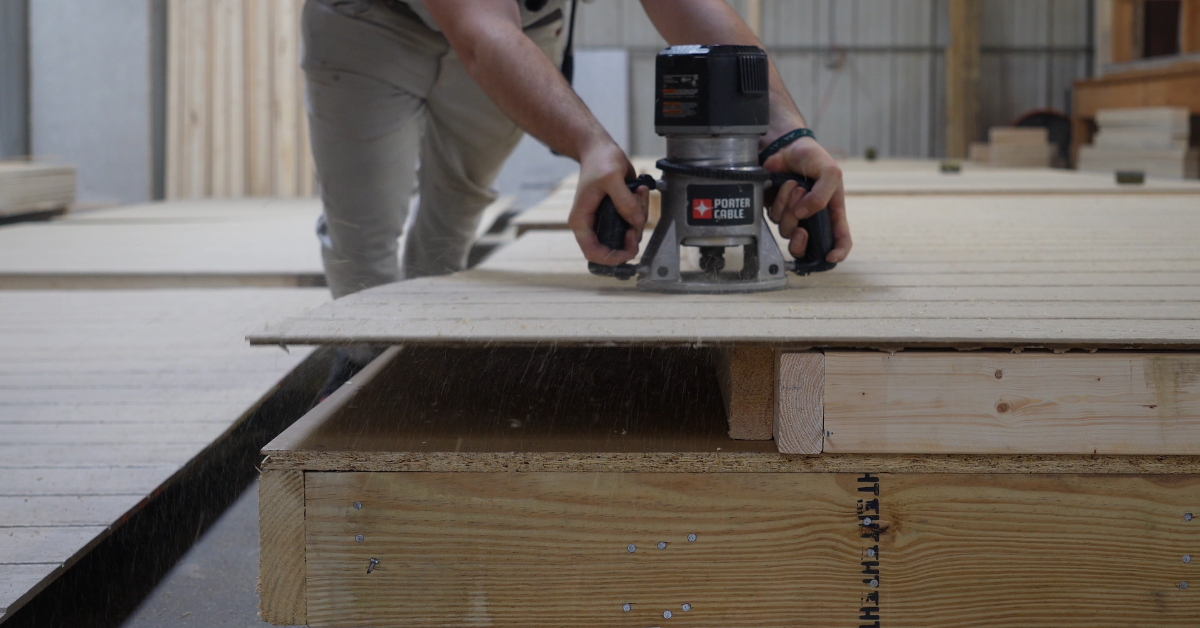
Step 3: The Perfect Shed for You
Customizing your own building ensures all of your shed needs will be met exactly the way you want them. Think about materials – wood offers a classic aesthetic, while metal provides low maintenance. Don’t forget about ventilation – proper airflow helps prevent moisture build-up and tool rust.
Step 4: From Floor to Ceiling – Organization is Key
Here’s where your shed truly transforms. Utilize vertical space with floor-to-ceiling shelves for bulky items and labeled bins for smaller tools. Pegboards are a fantastic option for frequently used hand tools, keeping them visible and accessible. Maximize corners with triangular shelves and consider a workbench for a dedicated project zone.
Step 5: Power Up!
If you plan on using your shed for more than just storage, consider installing electrical outlets. This opens the door for power tools, workbench lighting, air conditioning, and even a mini-fridge for those well-deserved post-project refreshments.
Step 6: Security Matters
Keep your tools safe from weather and would-be borrowers. Install a sturdy deadbolt lock, consider heavy-duty hinges, and anchor your shed to the foundation to prevent tipping.
With a little planning and some elbow grease, your tool shed can become more than just storage – it can be a creative workshop, a stress-relieving haven, and a testament to your DIY spirit. So, head to your closest Pine View dealer, unleash your inner architect, and get ready to build the ultimate workshop for your home improvement dreams!